
 |
Hello Everyone,
Hope your Monday is going well!
Before I kick off all my Easter inspired blog posts, I wanted to share this cute spring inspired DIY. Since spring is right around the corner, I thought this flower bag would help get you into spring mode! Also before I loose all my non-sewing readers out there, this bag is actually really easy to make. It would make a perfect first sewing project because there is no complicated stitching you need to do. You could probably had this bad boy made in either a day (if you have the time) or over the weekend!
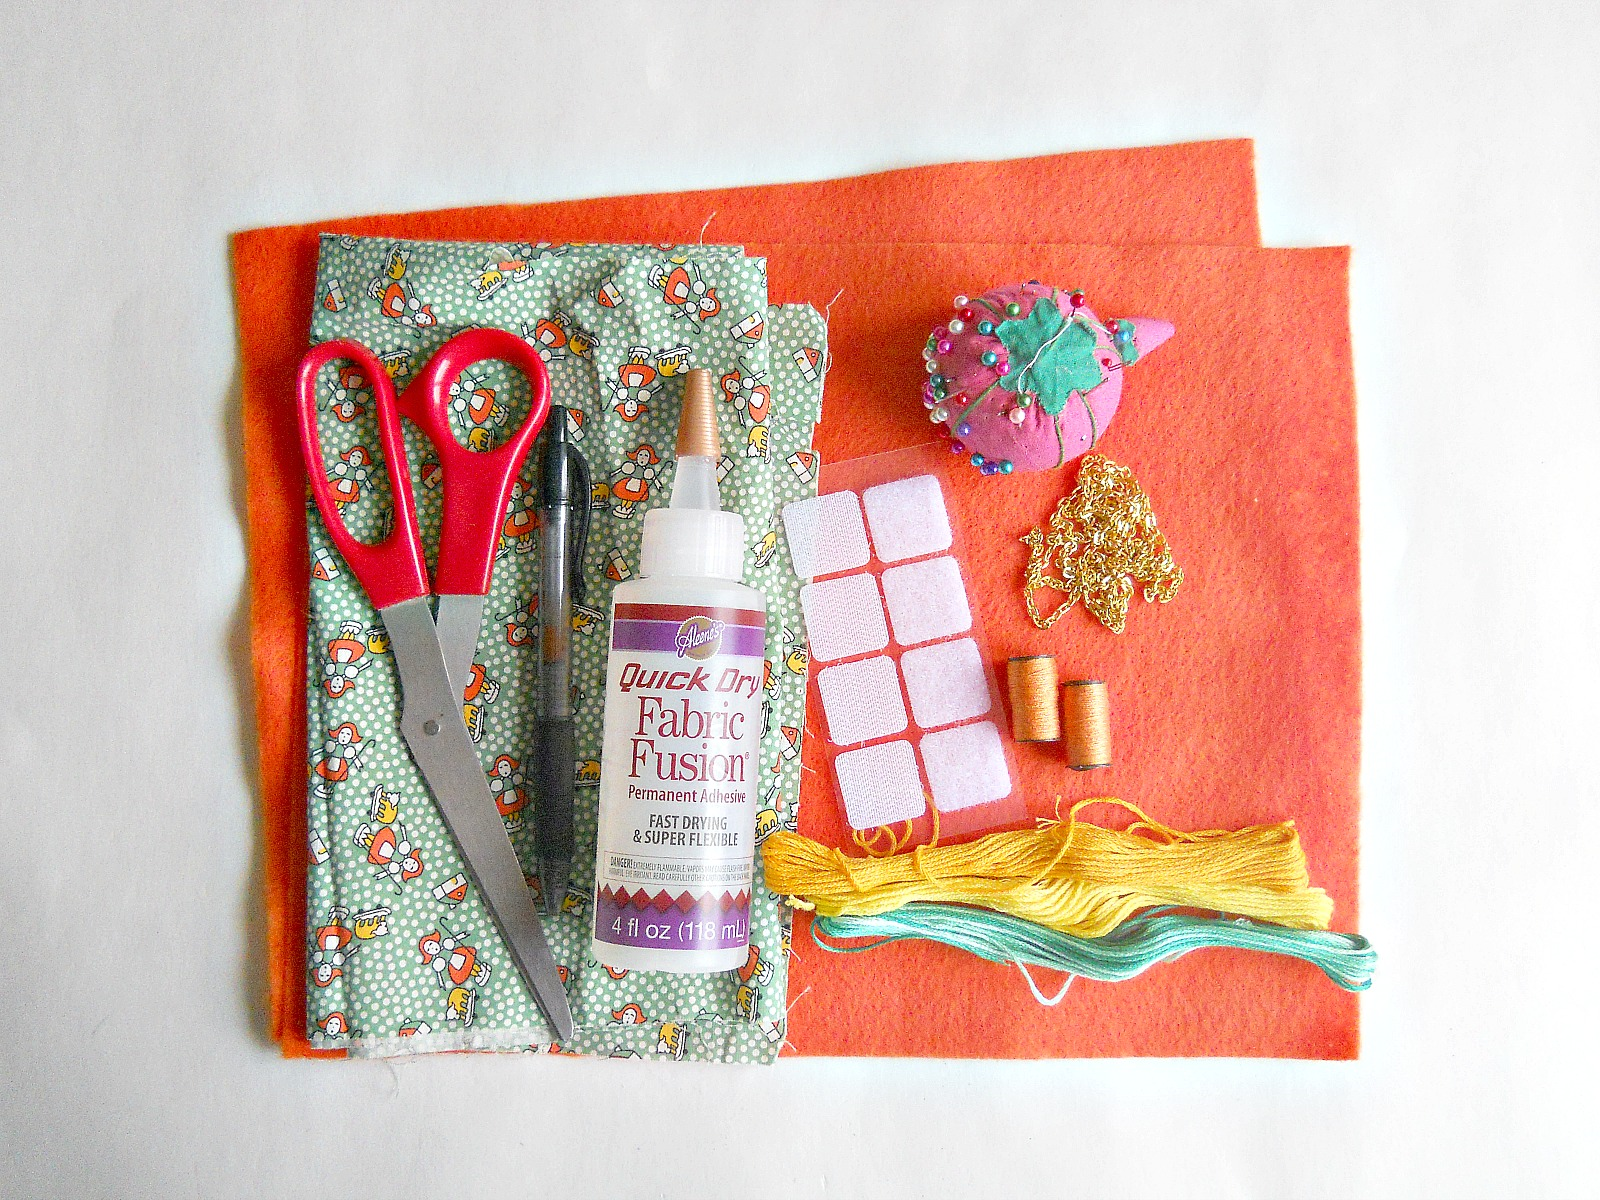 |
Supplies
2 Pieces of Felt (in your choice of color)
Patterned Fabric
Aleene's Quick Dry Fabric Fusion (or any other fabric glue)
Embroidery Thread
Needle
Sewing Pins
Sewing Thread (matching your felt)
Jewelry Chain (36 inches in your color choice)
Velcro
Pen
Scissors
 |
Step 1: Using your pen, draw the shape of a flower onto a piece of your felt. Cut that flower out and use it as the template for your second piece of felt. Then take your patterned fabric and cut a circle to fit into the middle of one of your flower pieces. When you're done cutting, you should have three pieces in total (two felt pieces in the shape of a flower and one circle in your patterned fabric).
Also, if you didn't want to draw your flower by freehand you could create your own template before starting this step.
 |
Step 2: Take your patterned fabric circle and apply some fabric glue to its back. Then take the circle and press it into the center of one of your felt flower pieces. Let it dry. After it's dry, you can start decorating your flower piece with your embroidery thread. You can sew simple lines like I did or sew a more intricate pattern. If you're not a fan of embroidery, you could always decorate your bag in another way by sewing on buttons or sequins.
 |
Step 3: Grab your other felt flower piece and pin the right sides of your felt together. Once your felt is pinned in place, you can begin sewing. You will want to sew (using your needle and thread) around three sides of the bag. When you have sewed around all three sides, tie off your thread and turn your bag right side out.
 |
Step 4: Once your bag has been flipped right side out, take one end of your jewelry chain and place it inside your bag, You will want to line up the end of your chain with the inside seam of your bag. When your happy with the placement of the chain, begin sewing it into place using your embroidery thread. You will only want to sew about one and half inches of chain inside your bag. Once you're done with one side, repeat this step with the other side of your chain.
 |
Step 5: Now take your Velcro and add it to the inside of your bag. For this project, I used Velcro that had a sticky back. However, for some extra support I added a drop of fabric glue to the back of each Velcro piece before adding them to my bag. If you didn't want to use Velcro, you could use a button closure or magnetic closure instead.
When your Velcro has been added to your bag, your ready to wear it.
 |
Now wasn't that easy? You can change the colors, patterns and the stitches to fit your style. So you can really make this bag as detail as you want.
I will say since the bag is made out of felt, it is a pretty small and lightweight bag. Meaning, that you can't fit everything plus the kitchen sink inside of it. Personally, I feel that this bag is great for your phone, keys and a small wallet. I would most likely use this bag when I'm running small errands (like getting gas) or when I'm going somewhere like the movies.
So are you ready for spring and what do you think of this flower bag?
xo Katie


No comments
I love comments, so thank you for taking the time to leave one. :)