
 |
Hello Everyone,
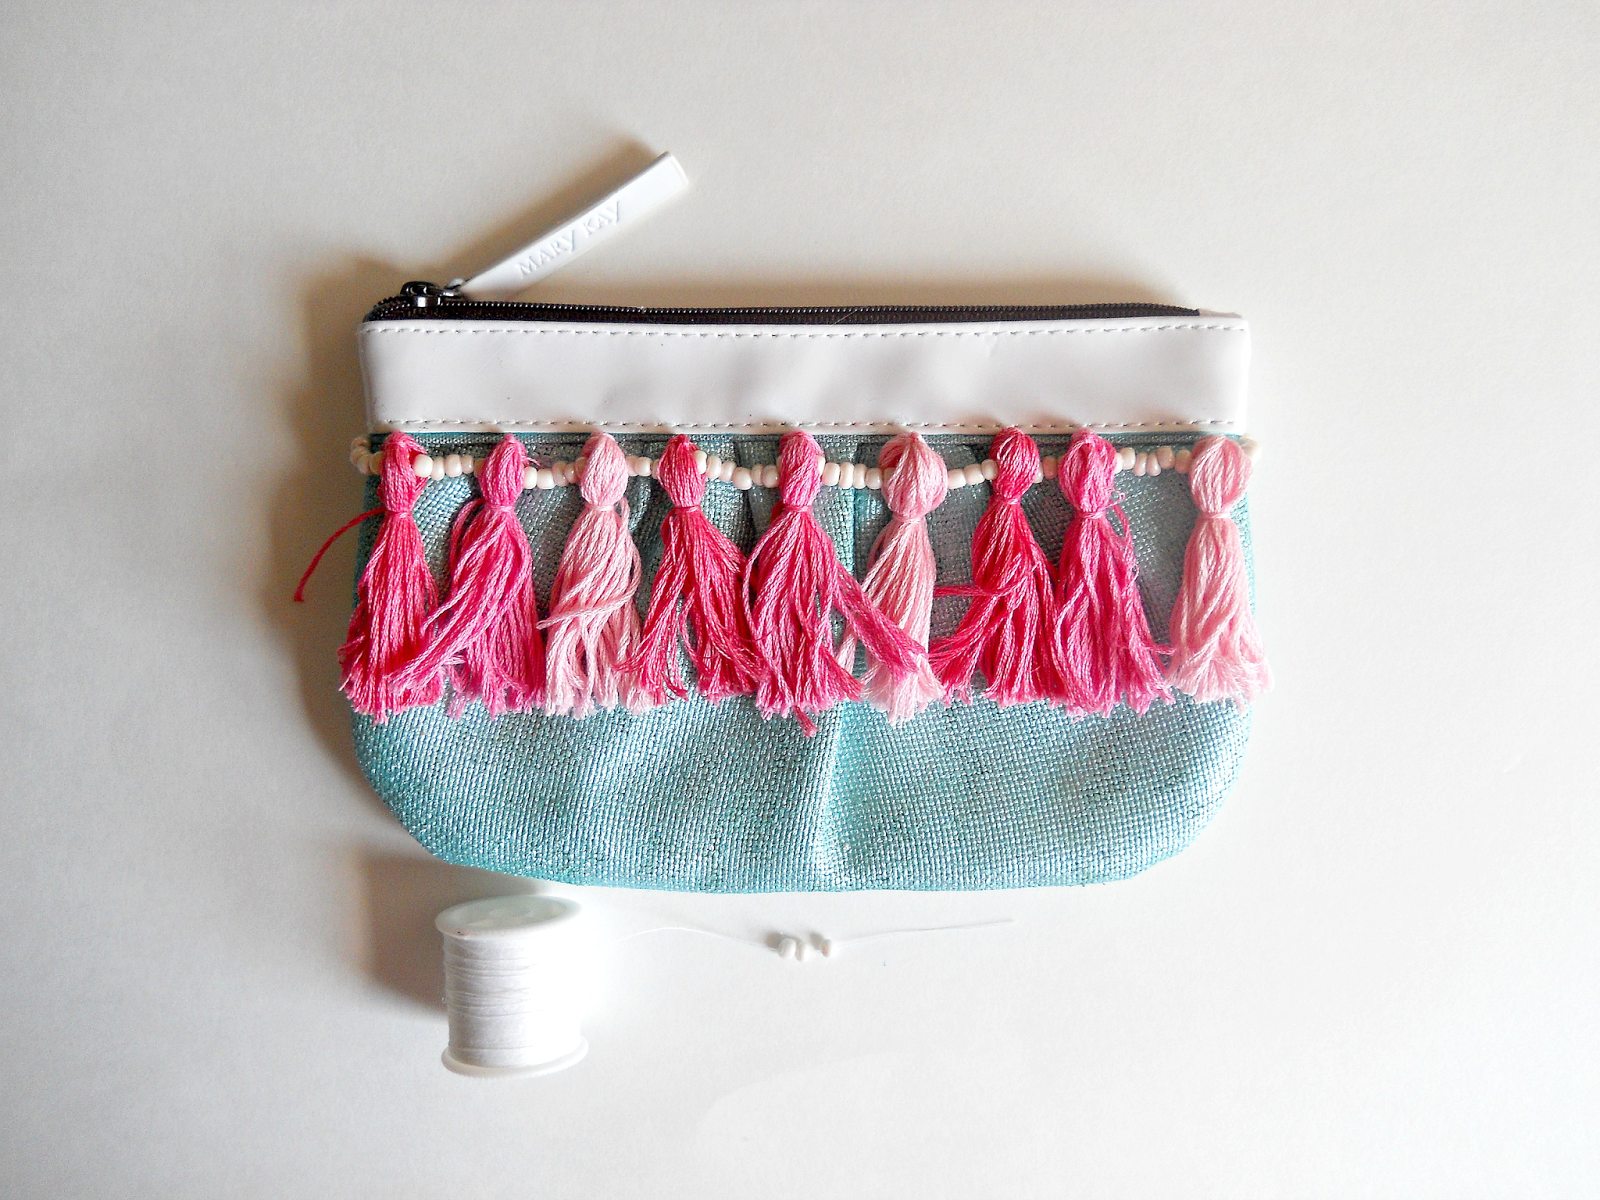
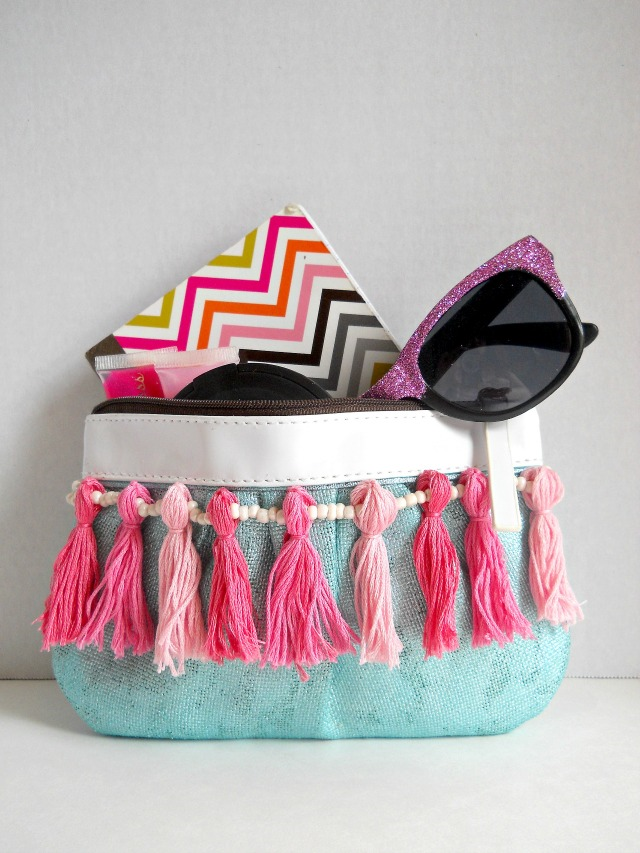
Lately, I've been on a DIY bag kick. Monday I shared with you this bag and today I'm sharing with you an easy way to up-cycle an old bag you may have lying around. I got the inspiration for this project from a small pouch I saw at Target. This particular pouch was colorful, had hot pink tassels and some yellow beaded work. Now even though those colors looked very awesome together, I'm more of a pastel girl. So in this project I change the color scheme and created a row of ombre tassels. All in all, I think the bag turn out pretty cute!
 |
Supplies
Small Bag
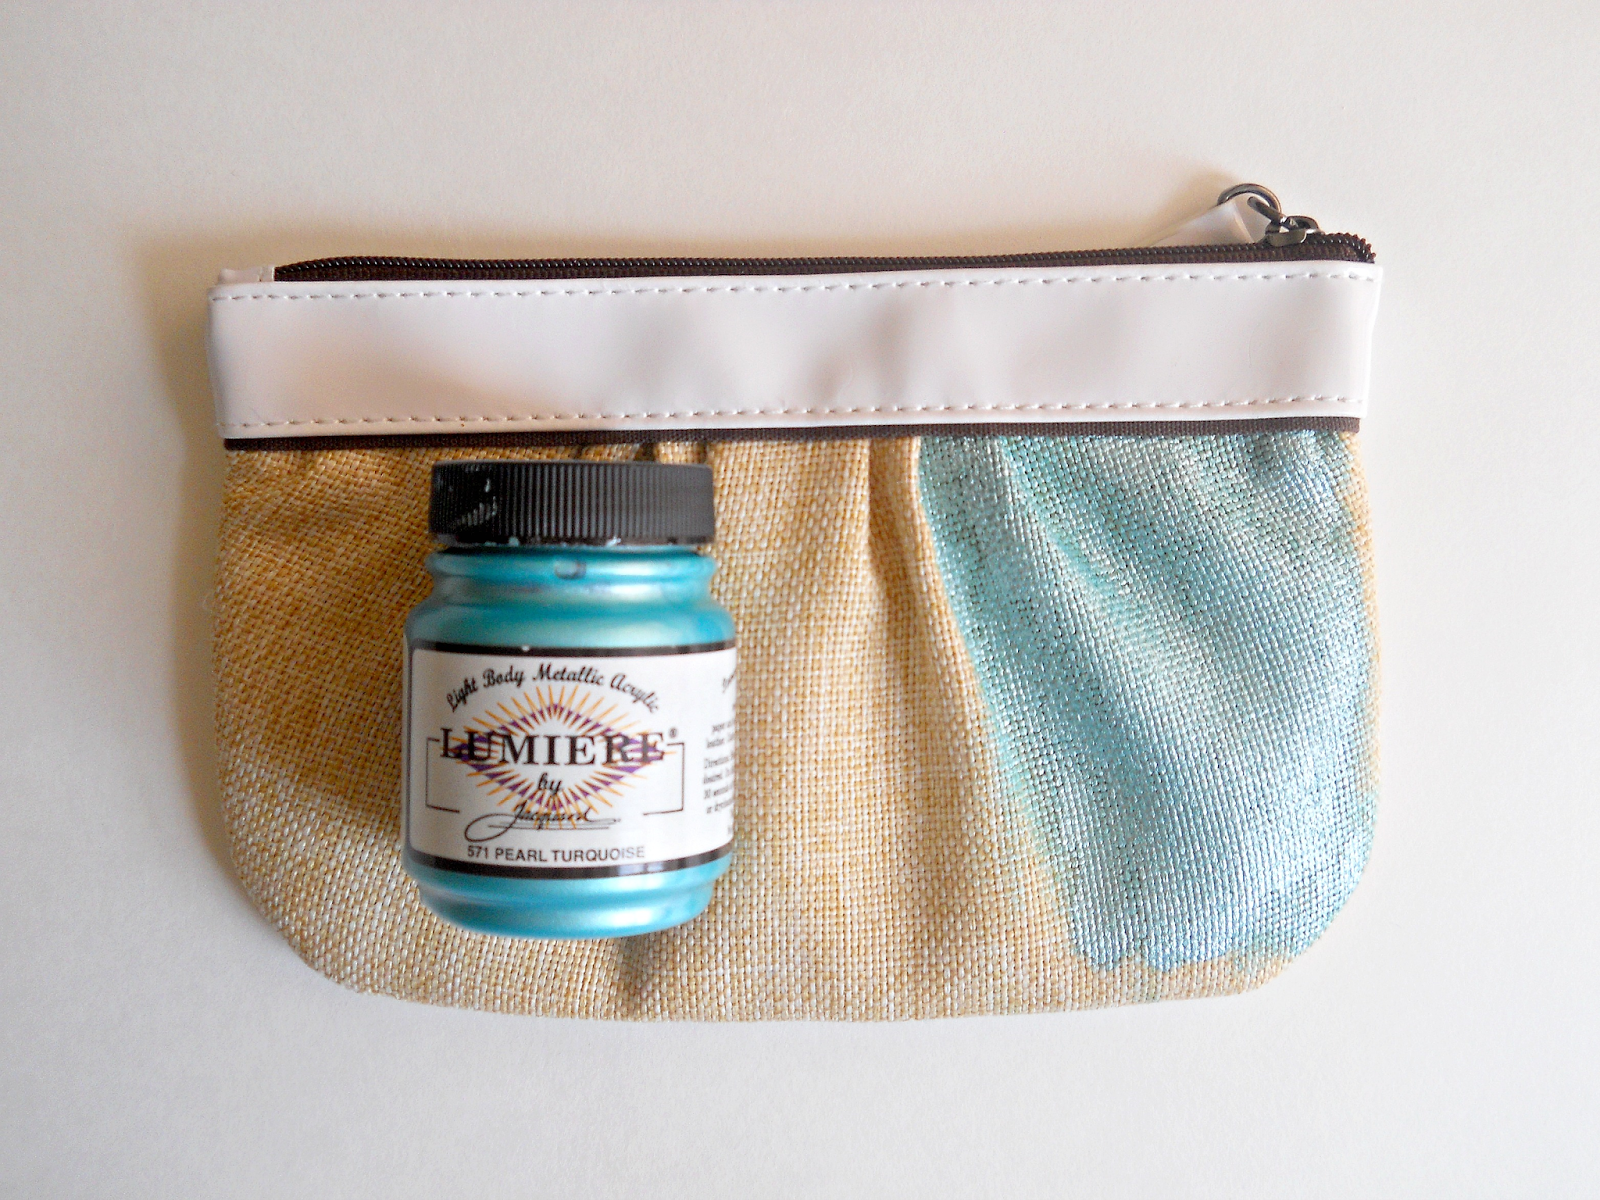
Fabric Paint
Paintbrush
3 Colors of Embroidery Thread
E6000
Small Piece Of Cardboard (for making your tassels)
Thread (not pictured)
Scissors (not pictured)
Seed Beads (not pictured)
 |
 |
 |
 |
 |
 |
One great thing about this project is that you can change the colors, size of the beads and the length of the tassels to fit your style. The possibilities of decorating your bag are pretty endless!
What do you thing? Do you like this beaded tassel bag?
xo Katie


